Saturday, July 7, 2012

Elderflower cordial, moss agate pins and more


The sun has finally shown itself a couple of days ago – wasn't that wonderful! To mark this rare occasion, we went with the girls to pick elderflowers to make elderflower cordial. It is the end of the season, so it was not easy to find 50 flower clusters that are needed to make 3 litres. Somehow almost all the trees that still had flowers were surrounded by stinging nettles – just to make the task a little more challenging! But we persevered and got all 50. I used the Danish recipe from my husband's family, which has an additional meaning to me because of Hans Christian Andersen's fairy tale «The Little Elder-Tree Mother» («Hyldemoer”), and I loved those stories as a child. Here is the recipe:
50 elderflower clusters                                                                                                                          
3 kg sugar
3-4 lemons
75 g citric acid (from a pharmacy)
3 l water.

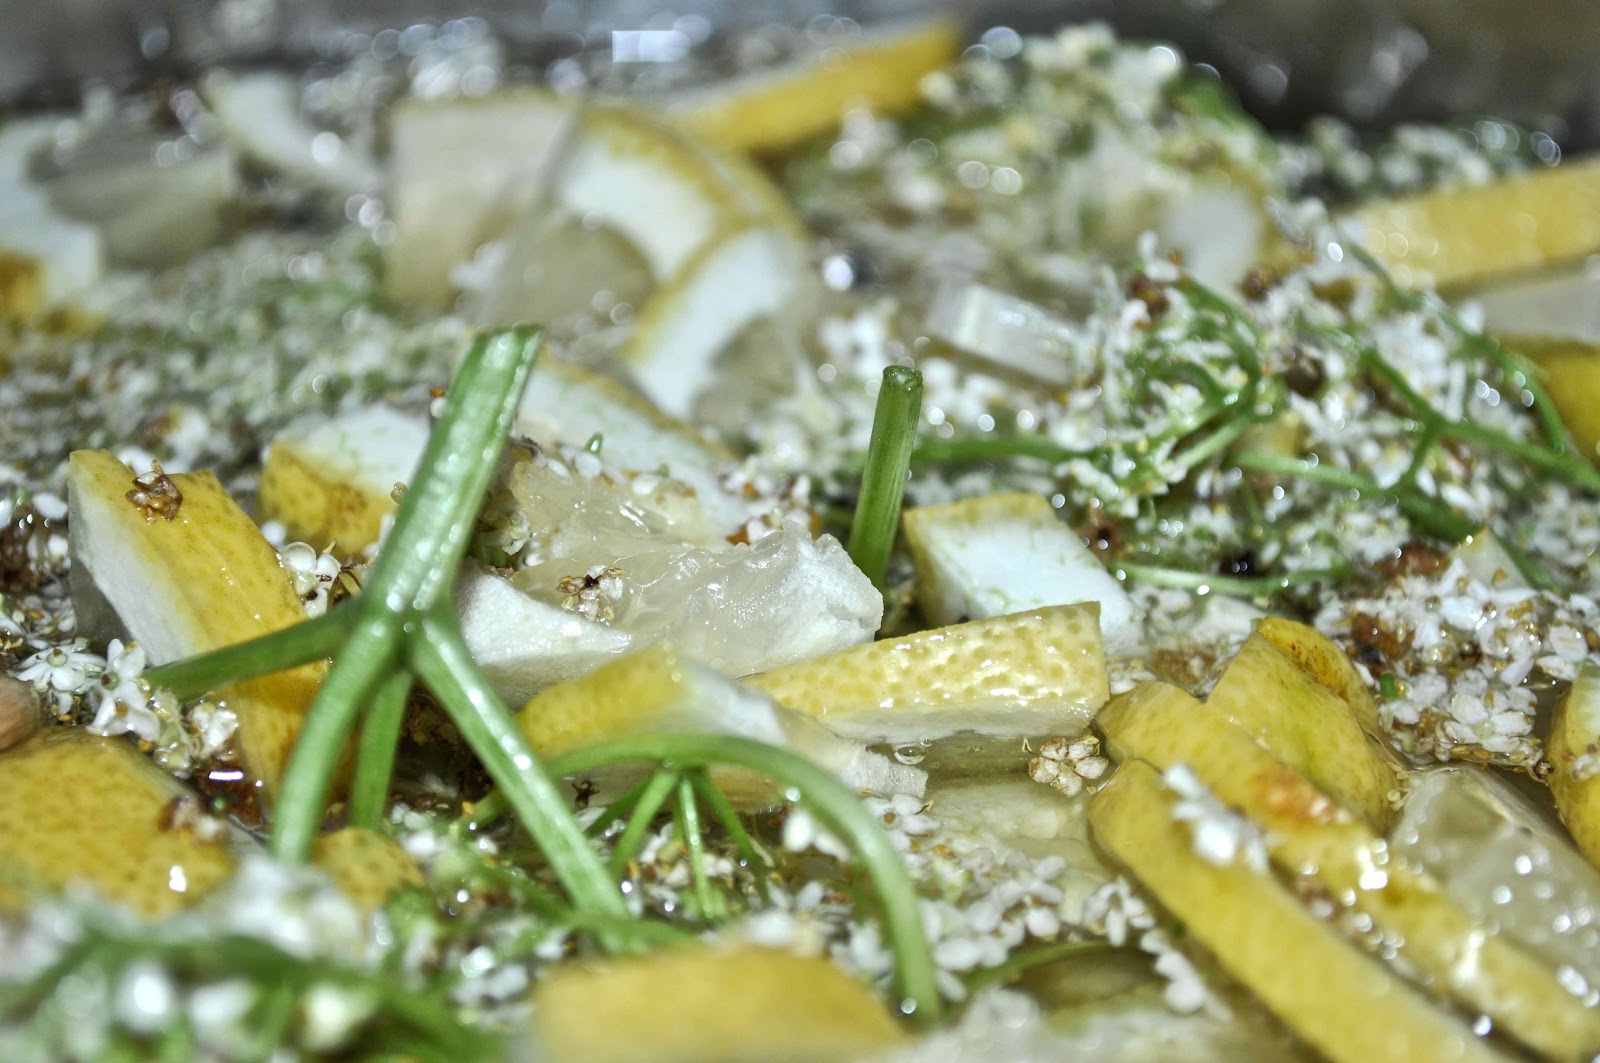
First dissolve the sugar and the citric acid in water. I heated up the water in a pan to speed up the process. Let the syrup cool to room temperature and add the flowers and chopped lemons. Let the mixture infuse for 48 hours, stirring it occasionally, filter it through the clean cloth, and pour into bottles. Last time I’ve made it, I used glass bottles and stored them in a fridge; unfortunately, in a few months whatever was left became mouldy and had to be thrown out. This time I bought a pack of eight 500 ml bottles of still water; I used the water for the syrup, and plan to pour the cordial into the plastic bottles and freeze them.

I’ve also tried my hand at jewellery making – pictures of the new creations to follow, as it is too dark to photograph now, but here are some moss agate pins that I’ve made recently:


Apart from experimenting, the last few days were dedicated to doing what I actually promised to other people. It’s amazing how the wish not be seen as unreliable spurs me into action! So here are some little boys’ jeans that a friend asked me to patch, and a second “Poppy cottage” felt doorstop, which will be on its way to Denmark on Monday:


Tuesday, July 3, 2012

Felt and crochet flower brooch - experimenting with photography


 Now that my crafting corner is much more pleasant to use, I finally got to make something here. It's a brooch made of crocheted flower, an orangy-yellow ball (a circle of felt gathered around the edge and stuffed with polyester wool) and grey and blue-grey felt. 

Now to the photography. 

I've looked through all the photography books in the nearest two libraries in the past year while learning to use my DSLR, but there were no books on crafts photography. I considered buying a book, such as "Crafter's guide to taking great photos" by Heidi Adnum. The reviews on Amazon are excellent. On the other hand, I try to watch my craft-related expenses and not to make any unnecessary purchases. I might still buy the book at some point, but there is so much free information on the internet, including tutorials on how to make a light-box, advice on background  and other great photo tips.  

 I used to photograph all my creations on a plain white background (the back of the children's map of the world - it's huge!). But some of the photos on Etsy, Folksy and other handmade marketplaces, where a piece of jewellery is placed on an antique book, or a map, or a seashell look stunning. So I decided to experiment with the background. Seashells and fluffy yarn and felt didn't go well together at all.  I haven't even taken a photo, but now I think I should, just to compare.

Here I used our family heirlooms, an old Russian fairy-tale book and an old Danish book about Marie Curie:   


Not sure whether this is any better than plain white background:


This one is a bit out of focus - needs to be replaced


In the next few days (given sufficient light and time) I will photograph some of my other creations on different backgrounds and post the photos to compare how they look on the screen.

Monday, July 2, 2012

Crafts corner

For the last few days the mess at my workplace has been in the way of any possible creativity. It's like a swamp: the creativity just drowns after the first couple of steps. So I decided to tidy up and organize. This is the «Before» photo:

Br-r-r.


I've searched in the past for the crafts corner organization ideas (see this link), and almost a year ago I came up with this system:

Better!


I am rather proud of it, because it survived for so long, which means it's functional. It uses PAPPIS boxes from IKEA, 79 p each. 


The dimensions of the boxes are really convenient, they can be stacked under the table (which is a former dining table), and there is still a bit of space to stuff an odd piece of paper of cardboard on top (until it's time to tidy up again). I've made the labels for the boxes using leftovers of natural brown hessian and white linen fabric. The hessian part measures 12 x 17 cm, linen part is 8.5 x 12 cm. First the picture is painted/embroidered/glued onto/attached to the white part of the label, then the white part is machine-stitched onto the the hessian part. Finally, the labels are glued onto the boxes, on the same side of each box. 


The label has to be well thought through for the system to work well. In fact, the whole system has to be thought through before the labels are made. From my experience with my children, the system must be intuitive, convenient and easy to use, otherwise it will just create more mess rather than helping organization. 


 I've made the following categories for my supplies: felt pieces, yarn (two boxes), embroidery floss, paints, stuffing (polyester wool), wadding, nature objects (twigs, bark, pine cones, shells), blank notebooks, finished gifts.  Then I just let the imagination take over. The label for embroidery floss is embroidered with the said floss, and the label for paints is painted. 


The labels for the yarn boxes feature fluffy yarn spirals, while the label for polyester wool box has a 3D picture of cotton made of cotton wool and a piece of an old T-shirt. (Unfortunately, the photos are not very good: what looks black on the label is, in fact, green).


Now I have a problem. For several months now I've had a box which I named «miscellaneous». 

It contains zip-lock bags, cellophane bags for finished products, product tags, cut-up threads for the tags, supply of glue sticks for the glue gun, some patterns for my creations, my business cards and receipts from the crafts shops. This is after I removed from there chains from the hanging baskets (I used the chains to make a hanging pouch for our chinchillas), balls of string and twine and some other stuff I've been hoarding. The question is: what should the label for this «miscellaneous» box look like? Will really appreciate suggestions!

Monday, June 25, 2012

Phoenix


As promised, here is what I've made for darling husband for his birthday. It's a picture of a phoenix, a firebird that dies in fire and is then reborn from ashes – to symbolize picking oneself up after various life difficulties, such as grant rejections, bad reviews, etc.  The Russian equivalent is Жар-птица, so I used my memories of beautiful pictures from the fairy tale books (although I haven’t heard any stories about Жар-птица burning and being reborn, but never mind).


felt, gift, applique


The picture is not very big; the frame size is 25 x 25 cm. The felt that was used for the bird is from the Fabric Guild; as far as I remember, it contains some wool, but mainly viscose. I am definitely going back for more, as I found it much easier to work with for an applique than the acrylic felt from Hobbycraft and the eco-felt from Kunin (actually, from Coventry market) that I mainly used before.The black swirly-whirlies, which were to fill in the empty space around the phoenix, are made from the abformentioned acrylic felt from Hobbycraft. In my original drawing the bird looked peaceful and serene, but here it came out... different. It's interesting how a fraction of a millimeter difference gives a face a very different expression. Something to experiment with!  

Sunday, June 24, 2012

Brooches, brooches, brooches


Another family birthday is looming, now it's my husband's – tomorrow! The present is half-finished, still some work to be done. It is meant to be a surprise, so everything I can say now is that it is made of fabric and felt. It's not going to be easy to finish, since it's Sunday today, and everybody is home. I think I will enlist the childeren's help – to raise alarm if he is coming into the room. After the finished «product» is officially unveiled tomorrow morning during the celebrative breakfast (croissants, as we do for every birthday in our family), I'll post the photos here.

I've been watching Etsy Success videos while crafting, and the most frequent advice to improve the sales is to add more items to the shop. So I decided to make a stock of my most popular flower brooches: 


They are available to buy from the shop.

Still more to cut and sew. I am also trying new colour combinations: 


A month ago I had my first experience of selling at a crafts fair. It was terrifying, I was so nervous! As probably with anything that one does for the first time, it was far from a smashing success. But luckily, it was a small local crafts fair – perfect for practice, I think.  I made lots of girly brooches for that fair, and I just realized that they never made it to the blog. So here they are:


Most of them are now available from my shop.
Yesterday I asked my girls if they would like to be models for the owl and girly brooches. They were thrilled! So one day soon we'll organize a photoshoot – looking forward to that.